
With enough cheese, anything is good.
The kitchen was the last component we planned and built for Willi. For quite a long time, my father and I weren't even sure we needed a kitchen. Acutally, we thought a kitchen with complicate the whole conversion process: installing the gas pipes, sealing everything air tight and passing the gas inspection required by law. That's why we thought about building a kitchen cabinet with a sink and a countertop to put a camping stove on there.
However, we learned that in order to re-register Willi to PKW Klasse M1 (motorcar type M1), the camper van was required to be equipped with a built in stove and not only a camping stove put on a counter when needed.

So, in order to build the kitchen block we used these materials:
- pinewood 15 mm thick
- silver push-lock knob
- 2 flat hinges
- silver knob
- 2 concealed hinges for inset doors
- furniture connectors
- dark grey t-profile edgings for 15 mm plate thickness, without lip
- hardwood floor finish
- 2 16 l water canisters
- Dometic Smev sink-stove-combo 460x490 mm
- waste water hose
- water pump
- sealing profile
- straps to fix the gas cylinder
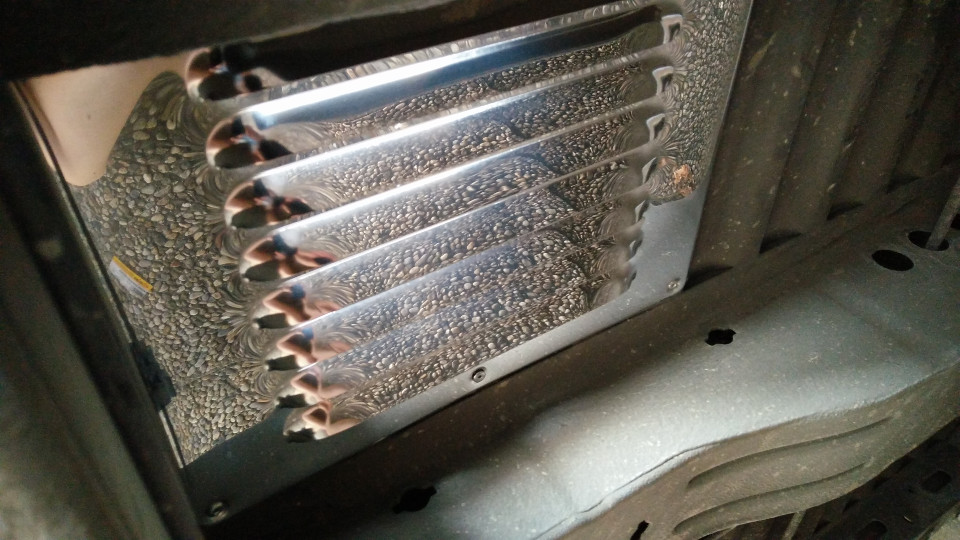
- ventilation grills
- gas pipes
- pressure regulator
- gas cylinder
- strips of wood for under the gas cylinder
Once we discovered we actually needed to have built-in gas pipes and the gas cylinder on-board we had to consider the following issues in order to pass the gas inspection:
- gas cylinder in an airtight compartment (let's call it the gas locker)
- ventilation hole at the bottom of the gas locker (at least 100x100 mm)
- the lower part of the locker's front wall (beneath the door) has to be at least 5 cm high (so that no gas could leak if the door wasn't sealed tight)
- the gas cylinder has to be fixed with at least two straps
- the gas cylinder has to sit elevated on some strips of wood (because apparently the holes at the bottom of the cylinder aren't big enough to let the gas flow to the opening in the floor)
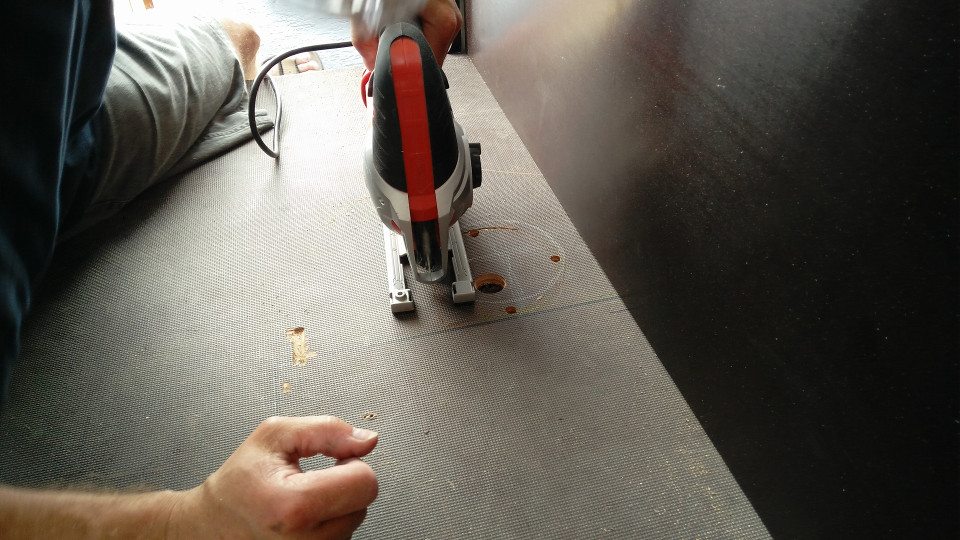
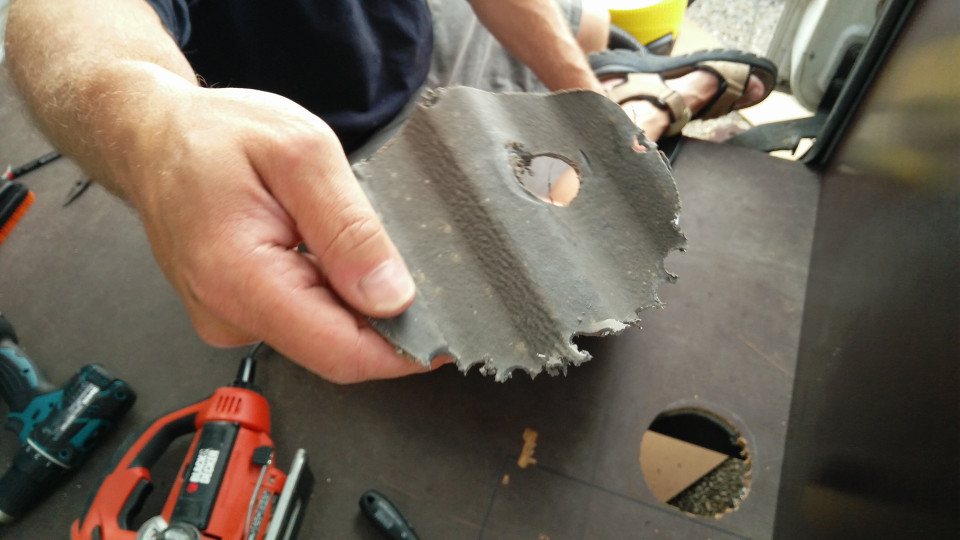
The first thing we did was to cut the ventilation hole in the floor. We did this before laying the PVC flooring so we "just" had to cut through the base plate and the vehicle's floor.

If you are wondering either why the hole is positioned so close to the base of the bed or why the ventilation grill does not sit centered beneath the hole: the answer to both questions is that the brake pipe and other conduits were in our way and we were lucky enough that it fit the way it did.
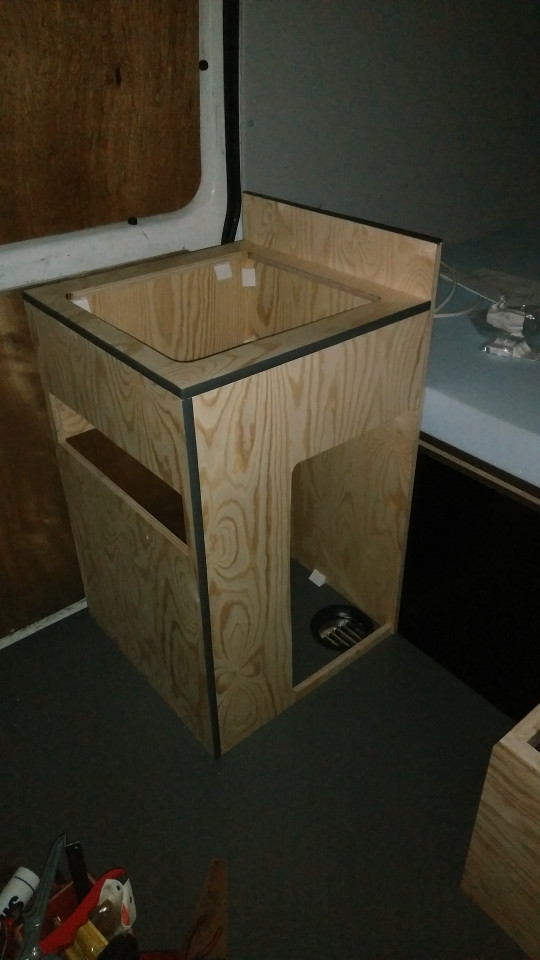
When you take a look at the sketch of the kitchen block above, you can see the layout of the lower part of the block on the left and the top part on the right. On top of the gas locker and beneath the sink there is a flat wooden board across the whole area of the kitchen. This board 1) acts as top of the gas locker, 2) separates the water canisters from the sink and stove and 3) holds the wiring for the switches and plugs and for the water pump.
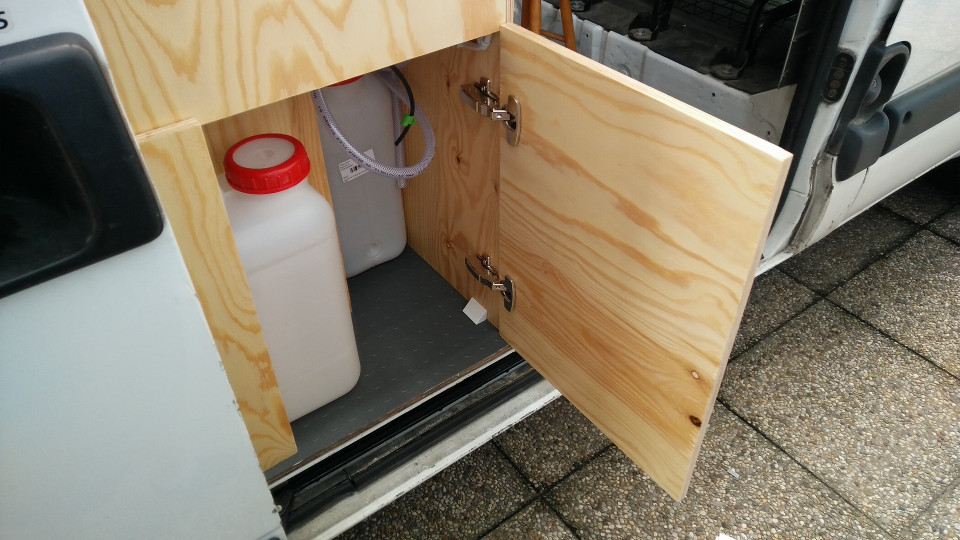
The longish hole on the front side of the kitchen block should actually at some point become a drawer, we just didn't have time to finish it. Now it provides an easy entry to the water canister compartment where we also keep kitchen utensils like dish soap and dish towels.

Of course, all the wood was treated with two layers of hardwood floor finish and I applied t-profile edgings to the sides of the top plate as well as to the top edge of the back of the kitchen block. However, I might remove the edging on the back board again because when I put my Omnia oven too close to this edging it melts, who would have thought :-D. Also, the back board itself got, let's say, tan lines. But that only adds to the character.
And there the water flows...