
Save electricity and keep on driving.
After I bought the van in July 2015, when it was obvious to us that we wouldn't able to use it that summer, we decided to use the winter season for planning the conversion and start the process in spring. However, the one thing we actually did before the winter was to install the inlet socket on the outside of the van for the electric hook-up. This way we were able to keep the battery charged over the winter.


For that we also did the wiring from the battery charger to the main battery and to the inlet socket we installed. We took off the old side panels and laid the wire behind there.

So this is where I tried to sketch all the wiring we did in the van. For all this, we used just about these materials:
- surface mounted three-pole inlet socket
- 4 wet room sockets
- 1 Schuko socket
- at least 4 Schuko plugs
- 4 LED lamps
- 4 flip switches
- fuse box
- a few fuses
- battery charger
- body battery
- starter battery (main battery)
- led strips (not installed yet)
- 6 door switches (not installed yet)
- 2 incorporated 230 V camper sockets
- 2 incorporated 12 V camper sockets
- cable conduits
- lots and lots of wires - various kinds
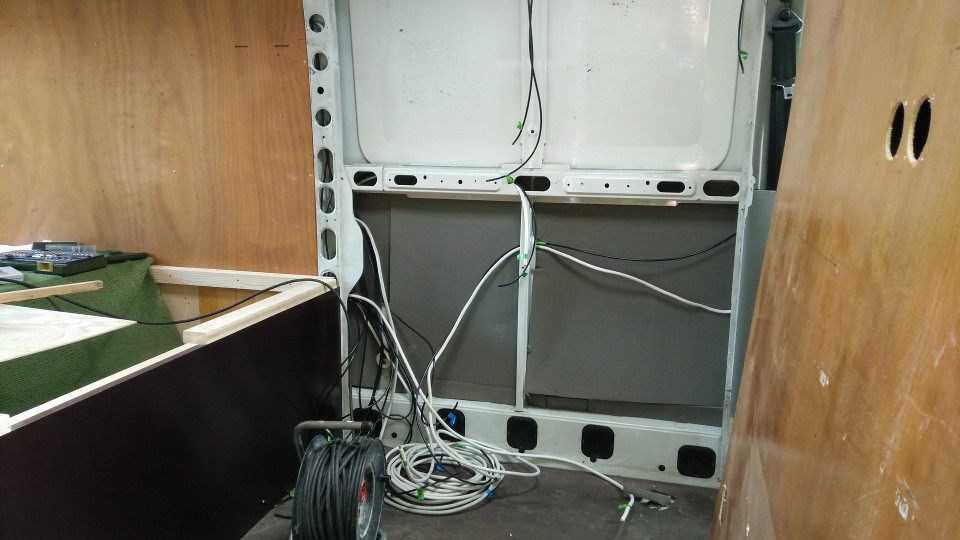

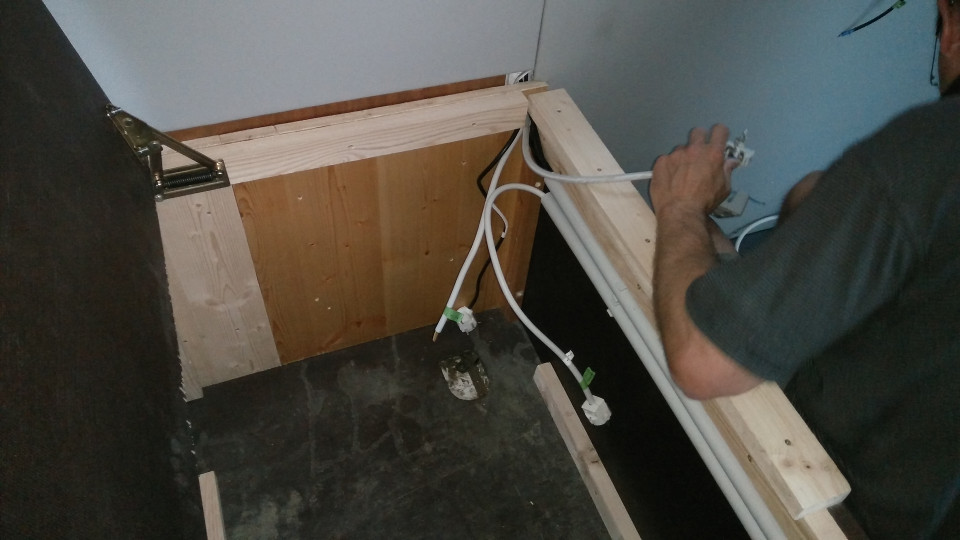
When we started to work on the electrics in spring and had just dismantled the side panels, we did a lot more wiring where we thought we might need the wires. My dad outlined a rough plan and plus an additional we-might-need-another-one-wire we actually got everything we needed done. We split the wire between the outside socket and the charger and inserted a socket and plug between the two. This socket and plug are installed in the box beneath the bed beside three other wet room sockets that provide a 230 V Schuko socket under the bench, one small 230 V camper socket underneath the window and another small 230 V camper socket on the side of the kitchen with power all coming from the outside electric hook-up.
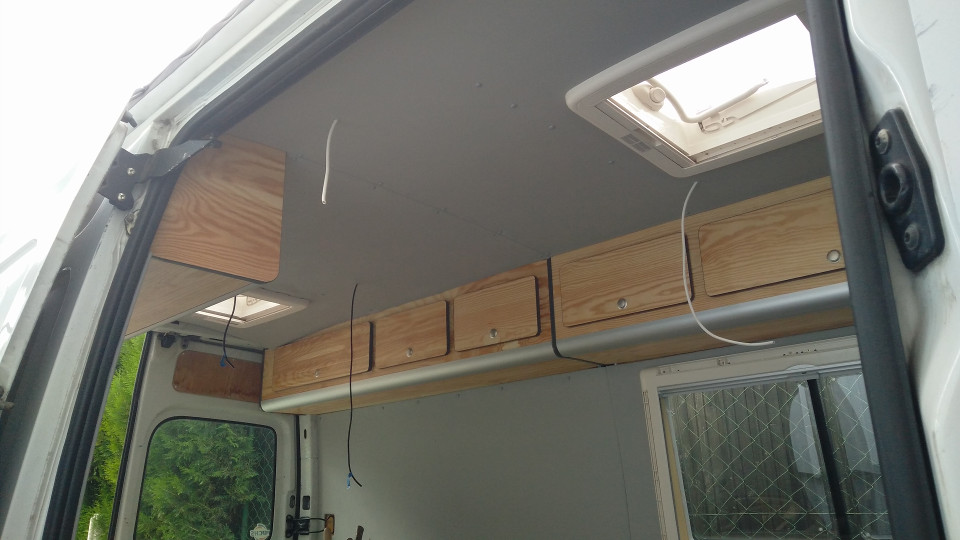
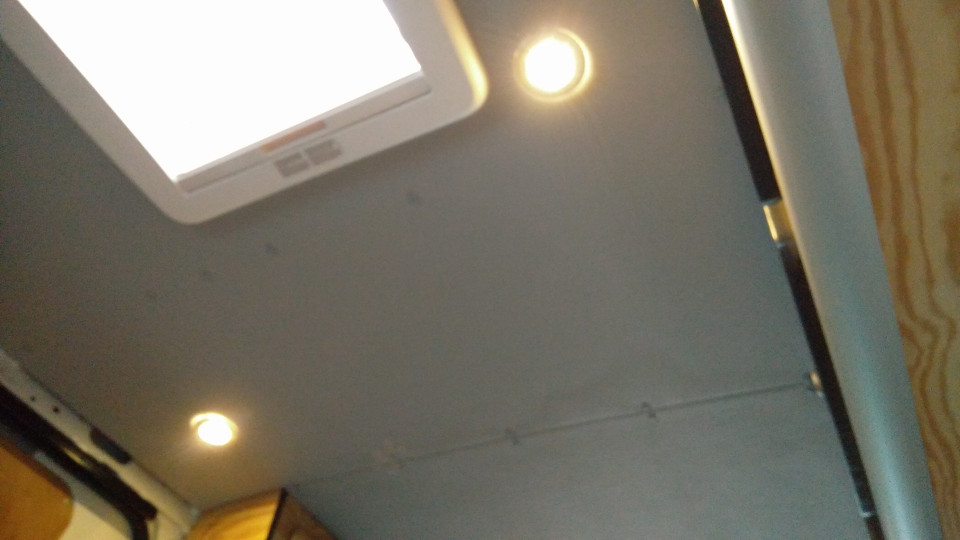
Also, when we mounted Willi's new headlining we did all the wiring for the four LED lamps. The switches for these lamps are built into the side of the kitchen where one switch turns on the two lamps above the bed and the other one turns on a lamp above the kitchen and another lamp above the dining area.
When we installed the cupboards above the bed we also laid wires for LED strips which should light up the inside of the cupboard when the hatch is opened and a door switch is released. Unfortunately, we didn't have the time to complete the cupboard lighting at the time of the conversion but it is on our list.
The body battery also powers the cooler and the water pump in the kitchen. (Make sure to empty the water canister before every winter or else your wanter pump will have a cold winter in a block of ice - hopefully mine will not die of it :/)
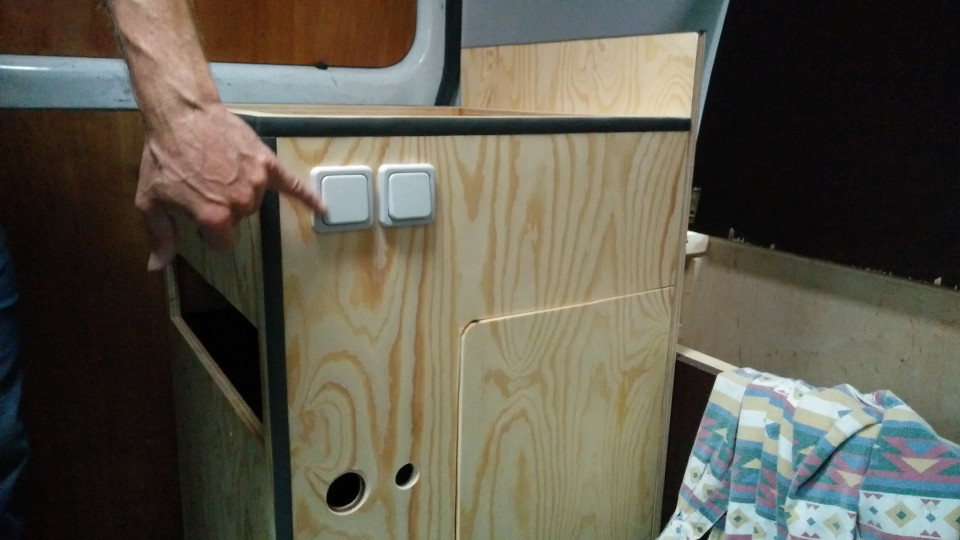
On the picture with the light switches above you can see two holes below them. These holes were for one 230 V incorporated socket and one 12 V incorporated socket. Similar 230 V and 12 V sockets are installed beneath the window in the dining area.
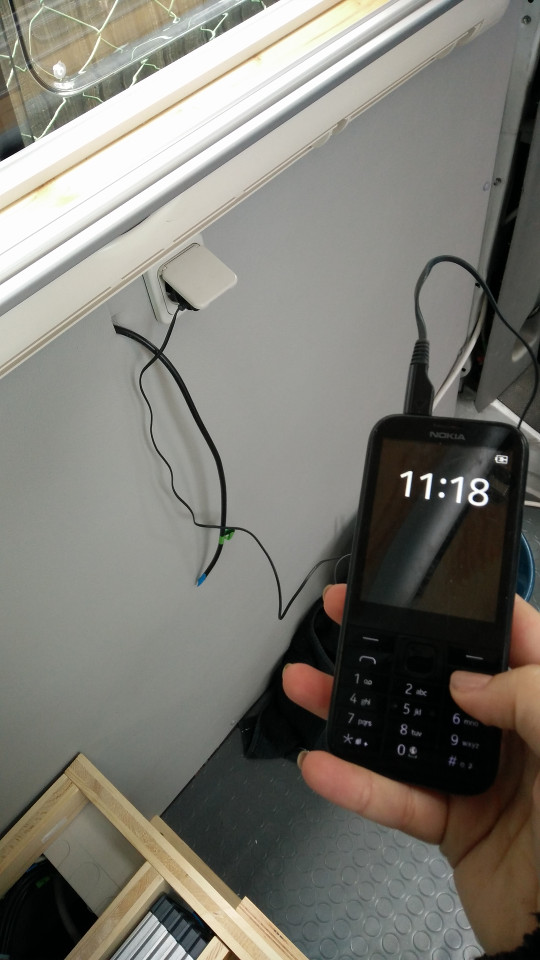
...aaaaand the phone charges :-)
And as we learned from CrazyRussianHacker
Safety is number one priority.
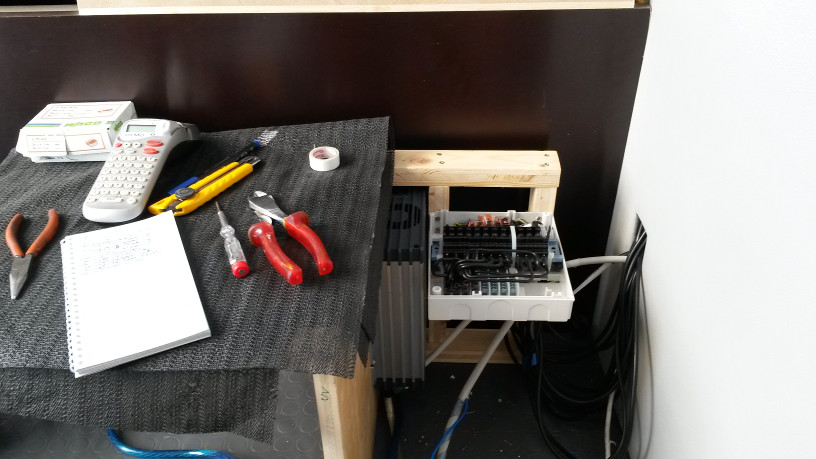
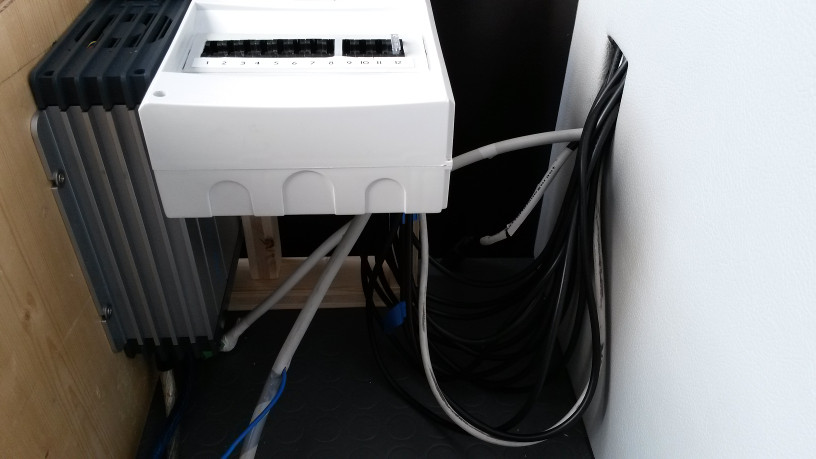
we installed a fuse box between the body battery and all the 12 V consumers. Following are pictures in the process of making and the finished main components of Willi's electrics built into the dining area bench. All the wires finally look neat too.

When Willi the Van is plugged in on a campground or parked at home (via an adapter three-pole to Schuko), the charger charges the body battery as well as the starter battery.
When driving, the alternator charges the starter battery and via the battery charger also the body battery.
When Willi is not plugged in none of the 230 V sockets will work, only the 12 V consumers are powered.
When Willi is not plugged in and the consumers exhaust the body battery, the starter battery does not get affected.