Collect moments, not things... Then what are the cupboards for?
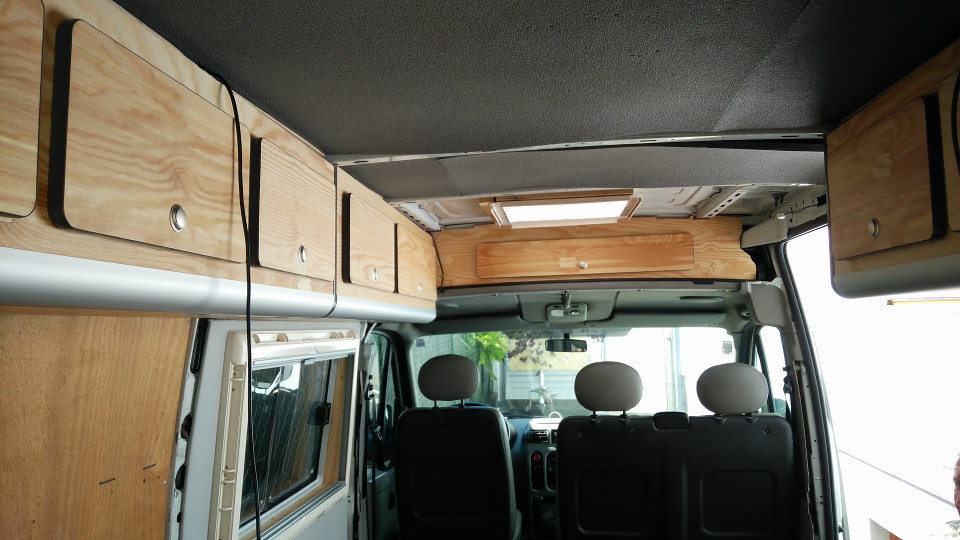
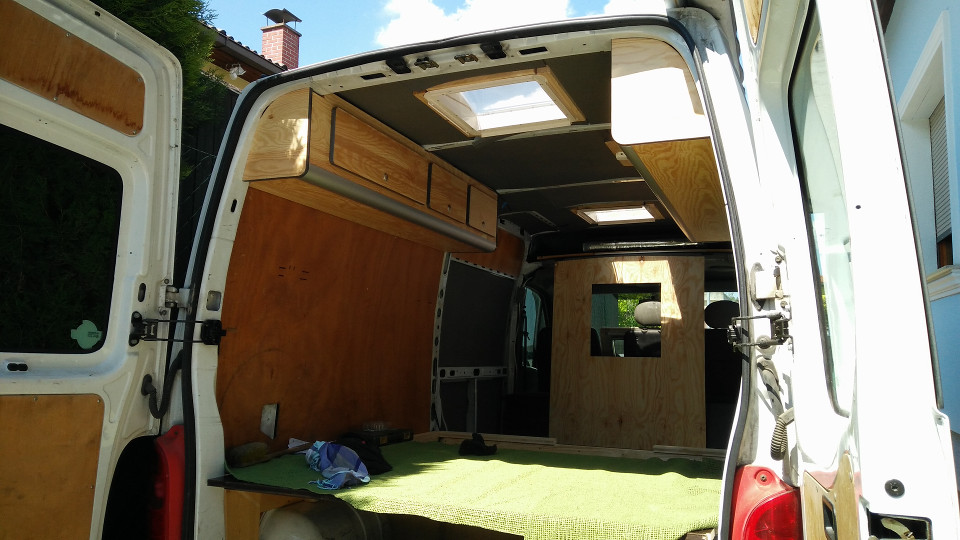
The first cupboards my father and I built were the ones to the right and left above the bed. Later on we built the hatch in front of the space above the driver's cab and after the window was installed, we built some more cupboards above that window behind the driver's seat.
We used the following material for the cupboards:
- pinewood 15 mm thick for the head, front, base and hatches as well as for the dividers
- pinewood 4 mm thick as headlining in the cupboards
- silver alu furniture corner profile
- dark grey t-profile edgings for 15 mm plate thickness, without lip
- silver push-lock knobs
- furniture connectors
- hinges for overhead lockers
- hardwood floor finish
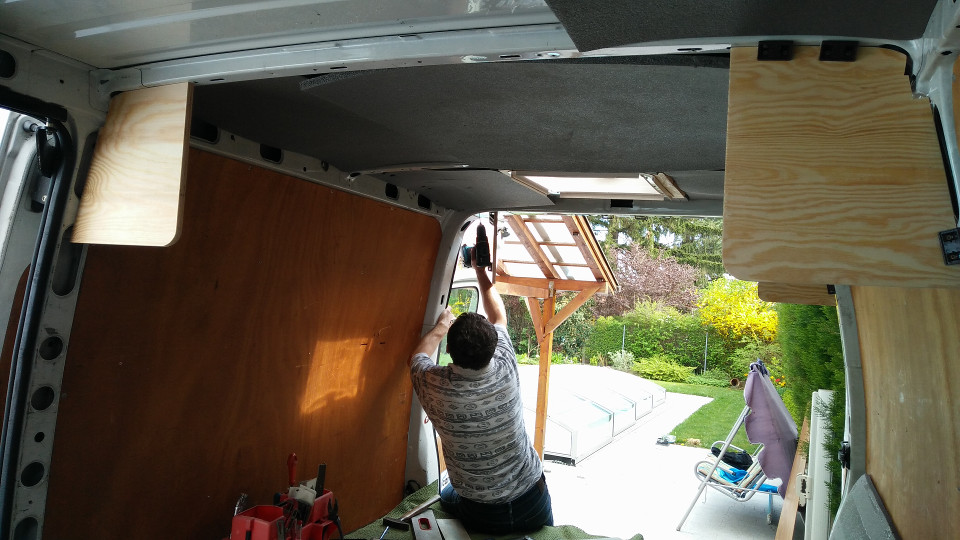
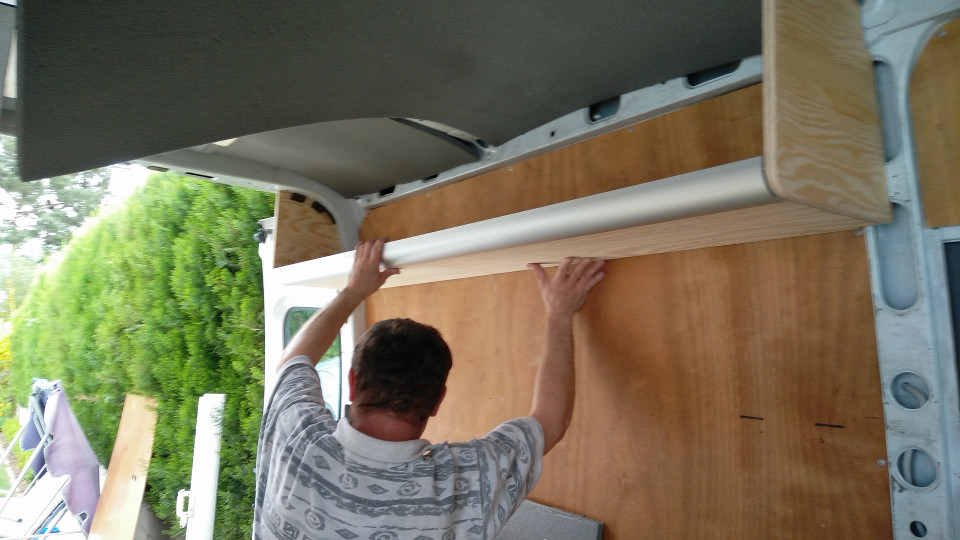
We started out by what seemed like the most pain-in-the-ass work: making the headboards fit the corners and edges of the van's walls. We measured, made stencils, tested them, cut bits off the stencils and so on. We also had to make sure that the base boards had the same arch as the corner profile that would connect the base and the front boards. Once the supporting headboards were installed, we fitted the base, front and divider boards to the headboards. We cut the long sides of the boards with a bench saw and the corners and finer works with a jig saw. Also, we treated the edges with sand paper.
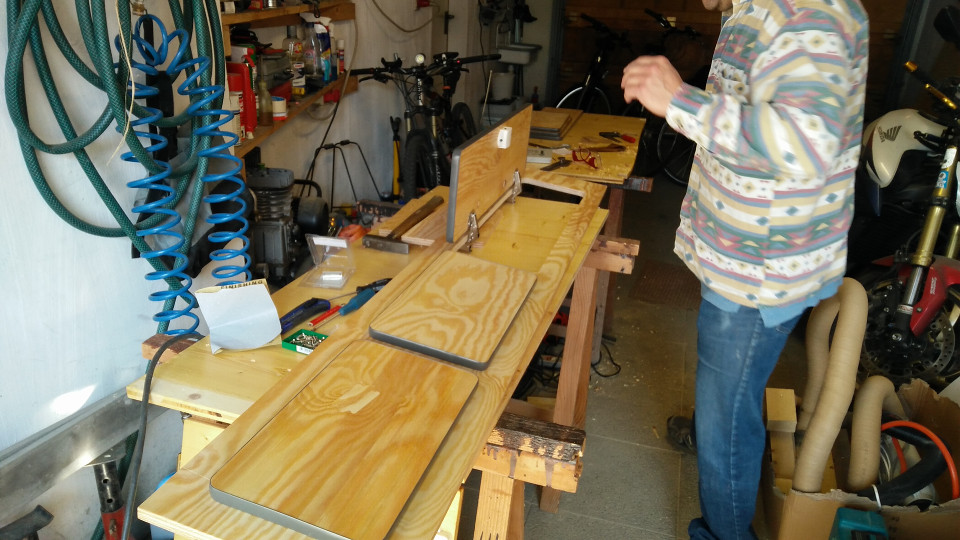
Each of the three cupboards in the living area has three compartments divided by either a supporting board or a divider board. The size of the innermost compartments was predetermined by the mounting points of the supporting headboards plus we added one divider to get two more smaller compartments instead of a bigger one.


We used a 31 mm Forstner bit on a drill press to start in the corners of the cut-outs and cut the rest using a jig saw. To smooth the edges of the cut-outs the delta sander came very handy and I used sand paper for the manual fine sanding.
And then, when eveything fit into the van... we took everything out again. I applied two coats of hardwood floor finish to all the parts of the cupboard and used very fine sand paper (240 grit size) after each coat.
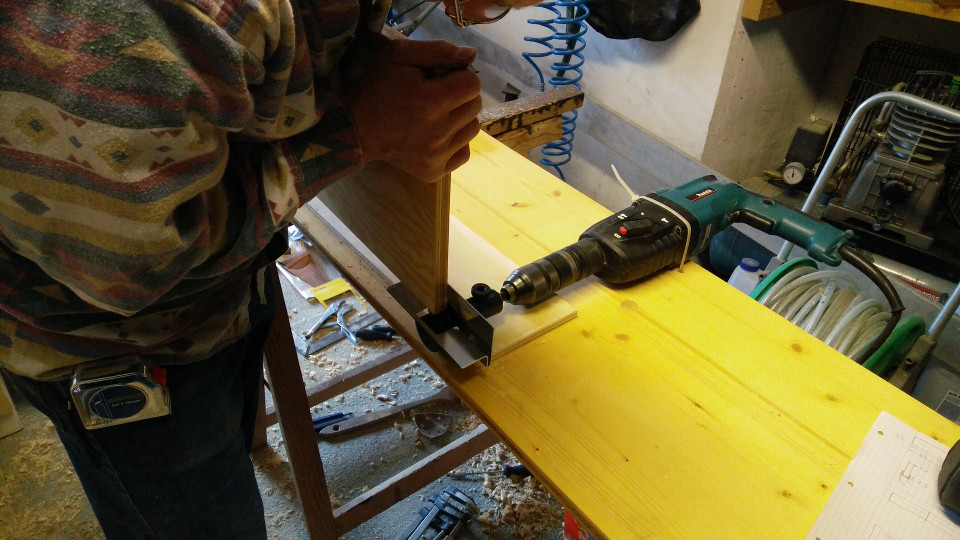


To make the edges of the headboards as well as of the hatches look neat we applied t-profile edgings to these parts. Therefore, we used a 3 mm milling adapter on the drill to make the barbed edging fit onto the edges of the boards. This diy milling machine might look adventurous but it did the trick.

As the hatches we couldn't use the parts we cut out of the front board because we needed the hatches to be slightly larger than the cut-outs.
The hinges we bought didn't completely fit the 15 mm thick hatches without showing a small gap between front board and hatch so we had to screw on little 3 mm thick plates to support the hinges.
The first step to install the push-lock knobs on the hatches was to screw on the push part - which we mastered creatively again with the 31 mm Forstner bit and several other work steps. The small opening, where the lock part is lowered into the front board when locked, we drilled with a Dremel and a 3 mm wide cutting disk. I am not entirely sure whether we cut the wood or burned it away.

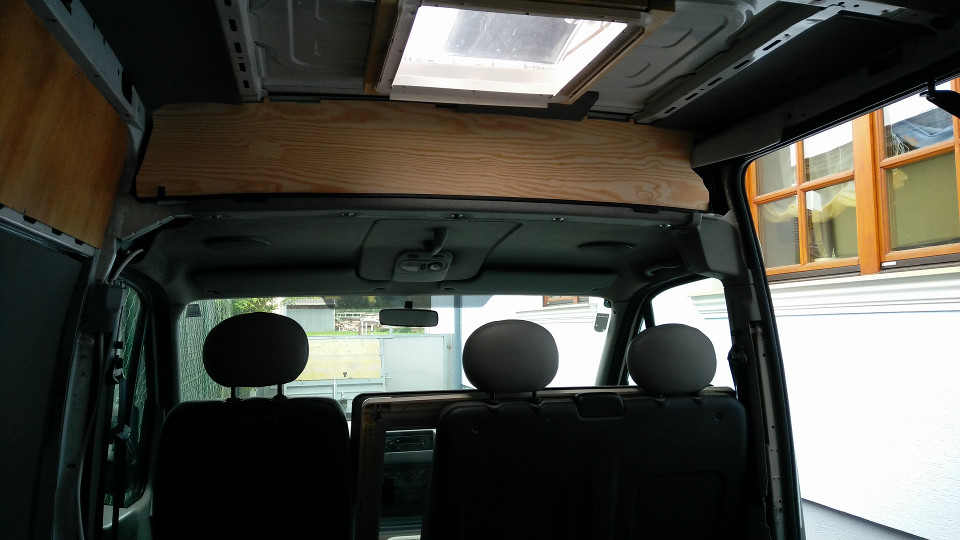
Before we could build the cupboards above the (then not yet installed) window, we had to figure out what to do with the space above the driver's cab. The old owner just covered it with some piece of wood. We decided to use the space as storage for light goods (food, actually - we use it for food now). As it can be seen on the pictures the van's ceiling is not even so to cut the front board of this cupboard was kind of a slalom run. It turned out quite good and the part of the front board that connects to the van's ceiling was hidden by the new headlining anyway.